One minute
Install Windows Update From Powershell
This guide will show how to install Windows updates from Powershell. Make sure the Execution Policies are allowed with this command
Set-ExecutionPolicy -ExecutionPolicy RemoteSigned -Scope CurrentUser
Or
Set-ExecutionPolicy -Scope Process -ExecutionPolicy Bypass -Force
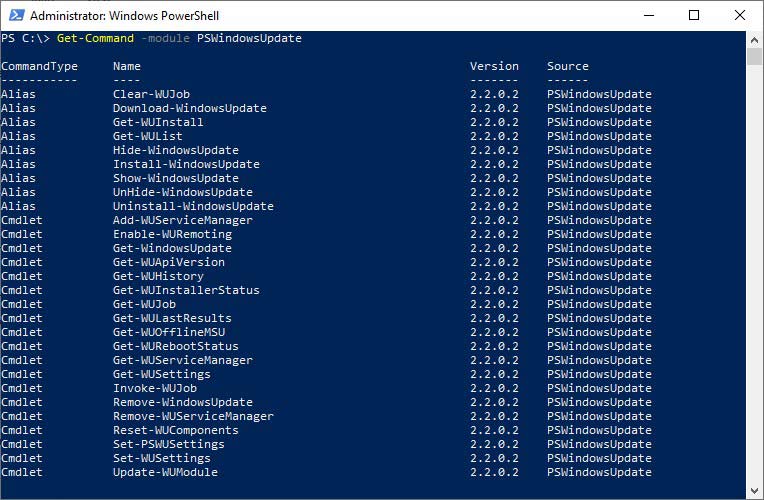
The Get-WindowsUpdate command is not a native PowerShell command, but rather it is part of a PowerShell module called “PSWindowsUpdate”. This module provides cmdlets that allow you to manage Windows updates from the PowerShell command line.
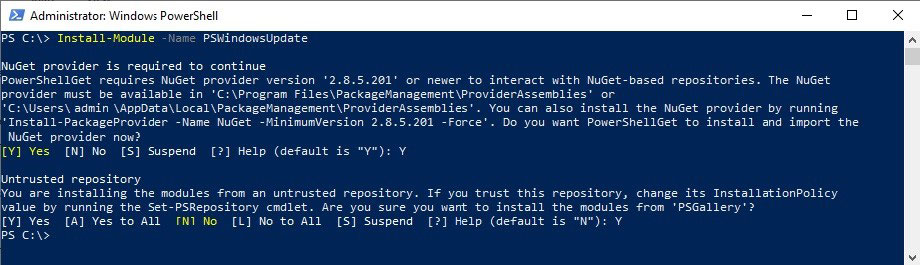
To use the Get-WindowsUpdate cmdlet, you will need to first install the PSWindowsUpdate module on your system. To do this, you can run the following command:
Install-Module PSWindowsUpdate
Run the following command to check for available updates:
Get-WindowsUpdate
If there are updates available, you can install them by running the following command:
Install-WindowsUpdate
Restart-Computer
Once your computer has restarted, you can verify that the updates were installed by running the following command:
Get-WindowsUpdate | Format-Table
You can automate process with this command
Install-WindowsUpdate -MicrosoftUpdate -AcceptAll -AutoReboot | Out-File "C:\($env.computername-Get-Date -f yyyy-MM-dd)-MSUpdates.log" -Force